實踐乾貨輸出【SpringBoot + openGauss3開發入門】
本文介紹如何快速安裝openGauss3,openGauss3的安裝這是筆者濃縮提煉的,並且在Spring Boot中整合使用openGauss3資料庫。
文章目錄
- 單機版openGauss3快速環境安裝
- 安裝openGauss3注意事項
- springboot應用整合openGauss
- springboot整合opengauss的FAQ
- 最後總結
單機版openGauss3快速環境安裝
groupadd dbgroup
useradd -g dbgroup omm # 可後面安裝時建立
passwd omm  #設定密碼為Gauss_1234
建立安裝程式目標目錄
mkdir  /home/omm/opengauss3
chown -R omm:dbgroup /home/omm/opengauss3
下載opengauss3.00
mkdir  /opengauss3
cd   /opengauss3
wget  http://opengauss.obs.cn-south-1.myhuaweicloud.com/3.0.0/x86/openGauss-3.0.0-CentOS-64bit-all.tar.gz
解壓檔案
tar -zvxf openGauss-3.0.0-CentOS-64bit-all.tar.gz
tar zxvf   openGauss-3.0.0-CentOS-64bit-cm.tar.gz
tar zxvf   openGauss-3.0.0-CentOS-64bit-om.tar.gz
設定opengauss叢集配置檔案,這裡設單點安裝
[root@enmoedu1 opengauss3]# cat cluster_config.xml
<?xml version="1.0" encoding="UTF-8"?>
<ROOT>
    <!-- openGauss整體資訊 -->
    <CLUSTER>
        <!-- 資料庫名稱 -->
        <PARAM name="clusterName" value="dbCluster" />
        <!-- 資料庫節點名稱(hostname) -->
        <PARAM name="nodeNames" value="hostname" />
        <!-- 資料庫安裝目錄-->
        <PARAM name="gaussdbAppPath" value="/home/omm/opengauss3/install/app" />
        <!-- 日誌目錄-->
        <PARAM name="gaussdbLogPath" value="/var/log/omm" />
        <!-- 臨時檔案目錄-->
        <PARAM name="tmpMppdbPath" value="/home/omm/opengauss3/tmp" />
        <!-- 資料庫工具目錄-->
        <PARAM name="gaussdbToolPath" value="/home/omm/opengauss3/install/om" />
        <!-- 資料庫core檔案目錄-->
        <PARAM name="corePath" value="/home/omm/opengauss3/corefile" />
        <!-- 節點IP,與資料庫節點名稱列表一一對應 -->
        <PARAM name="backIp1s" value="[root@enmoedu1 opengauss3]# cat cluster_config.xml <?xml version="1.0" encoding="UTF-8"?>
<ROOT>
    <!-- openGauss整體資訊 -->
    <CLUSTER>
        <!-- 資料庫名稱 -->
        <PARAM name="clusterName" value="dbCluster" />
        <!-- 資料庫節點名稱(hostname) -->
        <PARAM name="nodeNames" value="hostname" />
        <!-- 資料庫安裝目錄-->
        <PARAM name="gaussdbAppPath" value="/home/omm/opengauss3/install/app" />
        <!-- 日誌目錄-->
        <PARAM name="gaussdbLogPath" value="/var/log/omm" />
        <!-- 臨時檔案目錄-->
        <PARAM name="tmpMppdbPath" value="/home/omm/opengauss3/tmp" />
        <!-- 資料庫工具目錄-->
        <PARAM name="gaussdbToolPath" value="/home/omm/opengauss3/install/om" />
        <!-- 資料庫core檔案目錄-->
        <PARAM name="corePath" value="/home/omm/opengauss3/corefile" />
        <!-- 節點IP,與資料庫節點名稱列表一一對應 -->
        <PARAM name="backIp1s" value="IP"/>
    </CLUSTER>
    <!-- 每臺伺服器上的節點部署資訊 -->
    <DEVICELIST>
        <!-- 節點1上的部署資訊 -->
        <DEVICE sn="hostname">
            <!-- 節點1的主機名稱 -->
            <PARAM name="name" value="hostname"/>
            <!-- 節點1所在的AZ及AZ優先順序 -->
            <PARAM name="azName" value="AZ1"/>
            <PARAM name="azPriority" value="1"/>
            <!-- 節點1的IP,如果伺服器只有一個網絡卡可用,將backIP1和sshIP1配置成同一個IP -->
            <PARAM name="backIp1" value="IP"/>
            <PARAM name="sshIp1" value="IP"/>
            <!--dbnode-->
            <PARAM name="dataNum" value="1"/>
            <PARAM name="dataPortBase" value="15400"/>
            <PARAM name="dataNode1" value="/home/omm/opengauss3/install/data/dn"/>
            <PARAM name="dataNode1_syncNum" value="0"/>
        </DEVICE>
    </DEVICELIST>
</ROOT>"/>
    </CLUSTER>
    <!-- 每臺伺服器上的節點部署資訊 -->
    <DEVICELIST>
        <!-- 節點1上的部署資訊 -->
        <DEVICE sn="hostname">
            <!-- 節點1的主機名稱 -->
            <PARAM name="name" value="hostname"/>
            <!-- 節點1所在的AZ及AZ優先順序 -->
            <PARAM name="azName" value="AZ1"/>
            <PARAM name="azPriority" value="1"/>
            <!-- 節點1的IP,如果伺服器只有一個網絡卡可用,將backIP1和sshIP1配置成同一個IP -->
            <PARAM name="backIp1" value="IP"/>
            <PARAM name="sshIp1" value="IP"/>
            <!--dbnode-->
            <PARAM name="dataNum" value="1"/>
            <PARAM name="dataPortBase" value="15400"/>
            <PARAM name="dataNode1" value="/home/omm/opengauss3/install/data/dn"/>
            <PARAM name="dataNode1_syncNum" value="0"/>
        </DEVICE>
    </DEVICELIST>
</ROOT>
前置系統軟體包
yum install -y epel-release
yum install -y bzip2 # 安裝bzip2用於後面的解壓openGauss安裝包
sed  -i 's/源IP/目標IP/g'  cluster_config.xml
sed  -i 's/hdp1/你的主機名/g'  cluster_config.xml
初始化系統安裝配置引數,以必須管理員root的許可權執行,進入opengauss3執行初始化程式
[root@hdp1 ~]# cd /opengauss3/
[root@hdp1 opengauss3]# ./script/gs_preinstall -U omm -G dbgroup -X ./cluster_config.xml
Parsing the configuration file.
Successfully parsed the configuration file.
Installing the tools on the local node.
Successfully installed the tools on the local node.
Setting host ip env
Successfully set host ip env.
Are you sure you want to create the user[omm] (yes/no)? no
Preparing SSH service.
Successfully prepared SSH service.
Checking OS software.
Successfully check os software.
Checking OS version.
Successfully checked OS version.
Creating cluster's path. Successfully created cluster's path.
Set and check OS parameter.
Setting OS parameters.
Successfully set OS parameters.
Warning: Installation environment contains some warning messages.
Please get more details by "/opengauss3/script/gs_checkos -i A -h hdp1 --detail".
Set and check OS parameter completed.
Preparing CRON service.
Successfully prepared CRON service.
Setting user environmental variables.
Successfully set user environmental variables.
Setting the dynamic link library.
Successfully set the dynamic link library.
Setting Core file
Successfully set core path.
Setting pssh path
Successfully set pssh path.
Setting Cgroup.
Successfully set Cgroup.
Set ARM Optimization.
No need to set ARM Optimization.
Fixing server package owner.
Setting finish flag.
Successfully set finish flag.
Preinstallation succeeded.
下面要以omm的使用者正式執行安裝程式,首先必須把許可權賦給omm
chown -R omm:dbgroup /opengauss3
切換到 omm,在/opengauss3目錄下執行安裝目錄
[root@hdp1 opengauss3]# su omm
[omm@hdp1 opengauss3]$   ./script/gs_install -X  ./cluster_config.xml
Parsing the configuration file.
Check preinstall on every node.
Successfully checked preinstall on every node.
Creating the backup directory.
Successfully created the backup directory.
begin deploy..
Installing the cluster.
begin prepare Install Cluster..
Checking the installation environment on all nodes.
begin install Cluster..
Installing applications on all nodes.
Successfully installed APP.
begin init Instance..
encrypt cipher and rand files for database.
Please enter password for database:
Please repeat for database:
begin to create CA cert files
The sslcert will be generated in /home/omm/opengauss3/install/app/share/sslcert/om
NO cm_server instance, no need to create CA for CM.
Cluster installation is completed.
Configuring.
Deleting instances from all nodes.
Successfully deleted instances from all nodes.
Checking node configuration on all nodes.
Initializing instances on all nodes.
Updating instance configuration on all nodes.
Check consistence of memCheck and coresCheck on database nodes.
Configuring pg_hba on all nodes.
Configuration is completed.
Successfully started cluster.
Successfully installed application.
end deploy..
驗證服務程序是否激 活
[root@hdp1 ~]# ps -eaf | grep omm
root     14898 32160  0 15:55 pts/1    00:00:00 su omm
omm      14899 14898  0 15:55 pts/1    00:00:00 bash
omm      19411     1  9 16:08 ?        00:00:02 /home/omm/opengauss3/install/app/bin/gaussdb -D
/home/omm/opengauss3/install/data/dn
root     19784   360  0 16:09 pts/2    00:00:00 grep --color=auto omm
命令列登入
gsql -d postgres -p 15400安裝openGauss3注意事項
之前安裝mogdb,影響了opengauss3的環境,/home/omm/.bashrc 裡面記錄了安裝後的變數,如果要解除安裝opengauss,必須要把.bashrc 下面所有的東西都去掉。
# User specific aliases and functions
export GPHOME=/home/omm/opengauss3/install/om
export PATH=$GPHOME/script/gspylib/pssh/bin:$GPHOME/script:$PATH
export LD_LIBRARY_PATH=$GPHOME/lib:$LD_LIBRARY_PATH
export PYTHONPATH=$GPHOME/lib
export GAUSSHOME=/home/omm/opengauss3/install/app
export PATH=$GAUSSHOME/bin:$PATH
export LD_LIBRARY_PATH=$GAUSSHOME/lib:$LD_LIBRARY_PATH
export S3_CLIENT_CRT_FILE=$GAUSSHOME/lib/client.crt
export GAUSS_VERSION=3.0.0
export PGHOST=/home/omm/opengauss3/tmp
export GAUSSLOG=/var/log/omm/omm
umask 077
export GAUSS_ENV=2
export GS_CLUSTER_NAME=dbCluster
springboot應用整合openGauss
SOA是一種粗粒度、鬆耦合服務架構,服務之間通過簡單、精確定義介面進行通訊,不涉及底層程式設計介面和通訊模型。SOA可以看作是B/S模型、XML(標準通用標記語言的子集)/Web Service技術之後的自然延伸,面向服務架構,它可以根據需求通過網路對鬆散耦合的粗粒度應用元件進行分散式部署、組合和使用。服務層是SOA的基礎,可以直接被應用呼叫,從而有效控制系統中與軟體代理互動的人為依賴性。
簡而言之SOA可以消除資訊孤島並實現共享業務重用,我們通過SOA可以打造下圖的複雜系統,其中藍色使用者服務 ,我們可以通過springboot + openGauss 技術實現。

我們使用OpenGauss作為具體資料儲存,使用開發工具建立一個數據庫mysqltest,並在mysqltest資料庫中建立一張表userennity和user1,建立語句如下:
create table   userentity(
	id int ,
	username  varchar(50),
	password  varchar(50),
	user_sex  varchar(10),
	nick_name  varchar(50)
);

create table  user1(
	id int ,
	name  varchar(50),
	password  varchar(50));
DEMO程式碼
±–src
| ±–main
| | ±–java
| | | —com
| | | —main
| | | ±–controler 具體業務邏輯
| | | ±–mapper 定義實現DAO的CRUD實體操作
| | | ±–model 實體類
| | | —service 實現服務類
注意UserControler是首先呼叫的service,繼而去呼叫實體操作。

而UserEntityControler是通過mapper的封裝去呼叫 DAO的CRUD的操作,如下
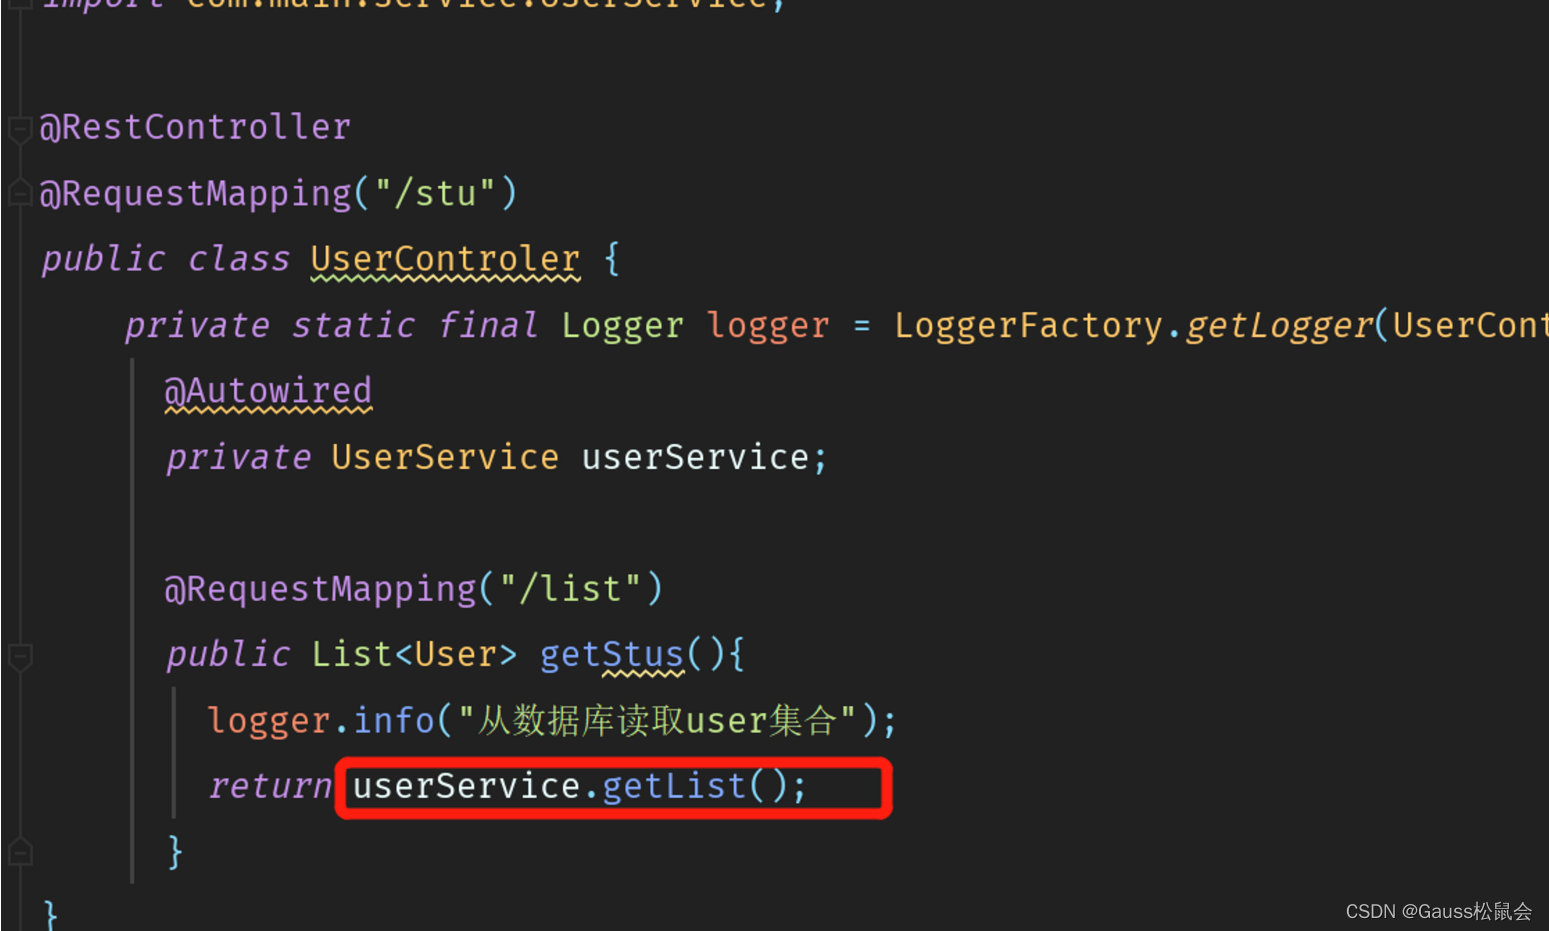
無論是UserControler還是 UserEntityControler 都需要底層資料庫對應用支援友好。
確定opengauss的使用者、密碼、埠及相關IP

啟動服務

服務正在執行中

檢視使用者實體1

檢視使用者實體2

springboot整合opengauss的FAQ
使用者名稱/密碼不對
spring報錯
### The error may involve com.main.mapper.UserMapper.getAll
### The error occurred while executing a query
### Cause: org.springframework.jdbc.CannotGetJdbcConnectionException:
Failed to obtain JDBC Connection; nested exception is org.postgresql.util.PSQLException:
不明的原因導致驅動程式造成失敗,請回報這個例外。] with root cause
java.lang.NullPointerException: null
而opengauss內部執行報錯
[omm@enmoedu1 ~]$ gsql -U  henley -h  192.168.30.65 -p  15400
Password for user henley:
gsql: FATAL:  Invalid username/password,login denied.
根本原因分析
openGauss預設是sha256,而登入則設成只允許md5登入,所以一直識使用者名稱和密碼錯誤
解決方法及步驟
vi /home/omm/opengauss3/install/data/dn/postgresql.conf
修改設定
encryption_type = 1

vi /home/omm/opengauss3/install/data/dn/pg_hba.conf

增加設定
host all henley 0.0.0.0/0 md5
重啟openGauss服務
使用者沒有對錶的操作許可權
spring報錯
org.postgresql.util.PSQLException: ERROR: permission denied for relation userentity
  詳細:N/A
opengauss報錯
mytest=> SELECT                   id, userName, passWord, user_sex, nick_name           FROM userentity;
ERROR:  permission denied for relation userentity
DETAIL:  N/A
解決方法及步驟
以postgres的身份登入root
[omm@enmoedu1 ~]$ gsql -d postgres -p 15400
gsql ((openGauss 3.0.0 build 02c14696) compiled at 2022-04-01 18:12:34 commit 0 last mr  )
Non-SSL connection (SSL connection is recommended when requiring high-security)
Type "help" for help.

切換到指定的資料庫

openGauss=# \c mytest;
Non-SSL connection (SSL connection is recommended when requiring high-security)
You are now connected to database "mytest" as user "omm".

執行授權

mytest=# GRANT ALL PRIVILEGES ON userentity TO henley;
GRANT
授權後能夠正常,但是發現一個問題,現在我們是通過Postgresql的jdbc驅動去訪問OpenGauss的,OpenGauss沒有自己的原生jdbc驅動嗎?答案是有的,而且還支援maven方式,見下。
<!-- 載入jdbc連線資料庫 -->
		<!--<dependency>-->
			<!--<groupId>org.opengauss</groupId>-->
			<!--<artifactId>opengauss-jdbc</artifactId>-->
		<!--</dependency>-->
		<!--<dependency>-->
			<!--<groupId>org.bouncycastle</groupId>-->
			<!--<artifactId>bcprov-jdk15on</artifactId>-->
			<!--<version>1.70</version>-->
		<!--</dependency>-->
但是筆者的運氣很差,通過maven一直無法下載openGauss的core包,只能通過手動的方式下載。
wget  http://opengauss.obs.cn-south-1.myhuaweicloud.com/
3.0.0/x86/openGauss-3.0.0-JDBC.tar.gz
再在idea把jar包引入進來,引入步驟 Project Structure --> Project Settings --> Libraries --> Add(alt +insert) --> apply
application.properties稍微修改一下
spring.datasource.url=jdbc:opengauss://192.168.30.65:15400/mytest
spring.datasource.driver-class-name=org.opengauss.Driver

#spring.datasource.url=jdbc:postgresql://XXXX:5432/mytest
#spring.datasource.url=jdbc:postgresql://XXXX:15400/mytest
spring.datasource.url=jdbc:opengauss://XXXX:15400/mytest
spring.datasource.username=henley
spring.datasource.password=XXXX
spring.datasource.driver-class-name=org.opengauss.Driver
#spring.datasource.driver-class-name=org.postgresql.Driver
### mybatis config ###
mybatis.config-locations=classpath:mybatis/mybatis-config.xml
mybatis.mapper-locations=classpath:mybatis/mapper/*.xml
mybatis.type-aliases-package=com.main.model
最後總結
openGauss對業界知名的spring支援還算友好,直接用傳統的postgresql驅動就可以接入使用,也有自己的opengauss驅動。如果使用順利,還可以支援分散式配置、服務路由、負載均衡、熔斷限流、鏈路監控這些功能,事實上在微服務的技術框架上也是支援的。
原始碼體驗:
http://gitee.com/angryart/springboot-opengauss
- GaussDB資料型別轉換介紹
- 通過公網連線GaussDB資料庫例項
- GaussDB資料型別介紹
- 如何通過DAS連線GaussDB
- 企業級分散式資料庫 - GaussDB介紹
- GaussDB 資料庫實驗環境搭建指導
- Tableau連線openGauss實踐
- 以學校資料模型為例,掌握在DAS下使用GaussDB
- openGauss資料庫共享儲存特性簡介
- openGauss資料庫原始碼解析系列文章——備份恢復機制:openGauss增量備份技術(上)
- openGauss資料庫客戶端接入認證詳解
- Excel連線openGauss資料庫實操
- openGauss資料庫原始碼解析系列文章——備份恢復機制:openGauss全量備份技術
- 超市進銷存之openGauss資料庫的應用與實踐
- 在WPS表格裡製作連線到openGauss的實時重新整理報表
- openGauss資料庫PostGIS 安裝與使用
- openGauss中Schema賦權小試
- openGauss Cluster Manager RTO Test
- 【我和openGauss的故事】openGauss獲獎專案講解
- openGauss易知易會的幾個實用特性